
I remember the sinking feeling in my stomach when I heard that sickening zip-pop sound. I was just finishing a kitchen remodel, the brand new dishwasher was finally level, and as I drove the final mounting screw into the face frame, the resistance just… vanished. My heart dropped. I had stripped the wood. In my rush to finish, I had ignored the diy dishwasher installation step-by-step guide I usually swear by and over-torqued the screw with my impact driver. It was a classic case of rushing the finish line, and now the very thing meant to secure my appliance was spinning uselessly in a hole that looked more like sawdust than solid oak. If you have ever stood there, staring at a screw that won’t grab, you know exactly how frustrating this moment is.
When the Screw Keeps Spinning and Hope Starts Fading
Most of us think wood is a solid, indestructible anchor point, but once those fibers are shredded by a spinning thread, they lose all bite. This is a classic troubleshooting hurdle that stops even experienced DIYers in their tracks. I made the massive mistake early in my career of thinking I could just use a bigger screw, but I quickly learned to stop using standard wood screws where precision is required. According to the USDA Forest Products Laboratory, the withdrawal strength of a screw is directly proportional to the density of the wood and the diameter of the pilot hole—if you mess up the integrity of that hole, your mounting bracket is essentially useless. This matters because a loose mount leads to a machine that tips forward when the racks are full, which can eventually stress your plumbing lines and lead to leaks. Trust me, I have seen floors ruined because someone ignored a wobbly bracket.
Is a Simple Toothpick Fix Enough for Your Dishwasher?
You might have heard your neighbor talk about shoving a few toothpicks and wood glue into the hole. While that works for a light picture frame, a heavy vibrating appliance needs more. Following expert advice on dishwasher installation means understanding that the lateral force applied when you open a heavy door requires a structural repair, not just a filler. This is especially true if you want to stay within the bounds of dishwasher warranty policies, which often require the unit to be properly secured to avoid damage. Today, I am going to show you how to rebuild that hole so it is actually stronger than the original wood, ensuring a seamless dishwasher installation that won’t fail you. Have you ever felt that gut-punch of a screw spinning uselessly while you were trying to wrap up a weekend project? Tell me about your most frustrating stripped-screw moment in the comments!To fix a hole that has been bored out like a canyon, you need to stop thinking about fillers and start thinking about structural replacement. When you drive a screw into wood, the threads are meant to wedge between the fibers. If those fibers are shredded, it is like trying to screw into a pile of loose sand. I once tried to cheat by using a plastic drywall anchor in a mahogany cabinet—a total rookie move. The anchor expanded, split the delicate face frame right down the middle, and I ended up having to replace the entire side panel. It was an expensive lesson in why common dishwasher parts and their role in proper installation include the wood itself as a structural component.
Stop Guessing and Start Rebuilding the Anchor Point
To get a grip that lasts, you have to replace the missing wood. Think of wood fibers like a bundle of straws; once they are crushed, they cannot hold weight. By using a hardwood dowel and PVA wood glue, you are essentially performing a localized transplant. This is one of those expert advice on dishwasher installation troubleshooting tips that separates a temporary patch from a professional-grade repair.
Clean Out the Debris Before You Begin
Your first step is to take a small drill bit—slightly larger than the stripped hole—and drill it out cleanly. This sounds counterintuitive, but you need to remove the jagged, loose wood fibers to create a smooth surface for the glue to bond. If you leave sawdust in there, the glue will stick to the dust rather than the cabinet frame. This attention to detail is part of the parts to check when installing a dishwasher for long-term performance. Use a vacuum to suck out any remaining grit.
The Permanent Fix Using Hardwood Dowels
Take a 1/4-inch or 3/8-inch hardwood dowel and cut a small piece about the depth of the hole. Slather it in high-quality wood glue and tap it into the hole with a hammer. Let it sit for at least two hours—overnight is better. Once the glue is dry, use a flush-cut saw or a sharp chisel to trim the dowel perfectly level with the cabinet face. This creates a solid block of new wood for your mounting bracket. 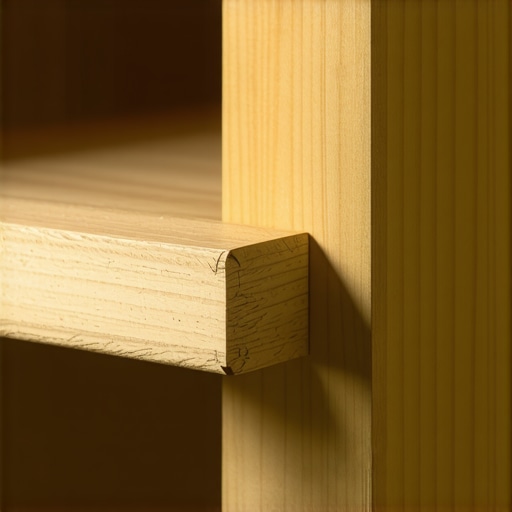
Don’t Skip the Pilot Hole This Time
Now that you have a solid surface, you cannot just drive the screw back in. This was likely the original mistake. You must drill a pilot hole into the center of the new dowel. The pilot hole should be slightly smaller than the core of the screw (the shaft without the threads). This allows the threads to cut into the wood without the shaft splitting the dowel. This precision is vital for maximizing your dishwashers warranty through proper parts selection, as it ensures the unit stays put.
Secure the Bracket with Precision
When you finally re-attach the mounting bracket, use a manual screwdriver rather than an impact driver. This gives you the tactile feedback needed to feel when the screw is snug. If you over-tighten again, you risk stripping your new repair. Proper tension is the only way to how to stop your dishwasher from moving when you open the door 2. Also, be careful about the depth; making the mounting screw mistake that blocks your top rack from closing is a common follow-up error when the screw head isn’t flush with the bracket.
Once you have solved the physical headache of a stripped screw, you might think you are in the clear, but there is a legal layer to this project that is even more delicate than a wooden face frame. Most DIYers believe that as long as they follow the manual, their manufacturer coverage remains a safety net. However, in my experience, the ‘manual’ is just the starting line. I have seen homeowners perform a textbook-perfect install, only to have their claim denied because they ignored the house’s infrastructure. For example, understanding dishwasher warranty policies for peace of mind requires you to look at things like water pressure and flooring—elements the machine didn’t come with but relies on entirely.
Your Warranty Is More Fragile Than You Think
The common belief is that if a part fails, the manufacturer replaces it. The contrarian truth? Manufacturers often look for ‘environmental variables’ to void your protection. If your kitchen floor is slightly uneven or lacks the proper support, the resulting vibrations can be classified as ‘misuse.’ This is why why your kitchen flooring might void your installation guarantee is one of the most overlooked sections of a contract. According to a report by Consumer Reports, nearly 20% of new dishwashers experience a functional issue within the first five years, and a significant portion of warranty denials stem from installation conditions that the manufacturer deems ‘non-standard.’ You must ensure your maximizing your dishwashers warranty through proper parts selection includes verifying that your subflooring meets the unit’s weight-bearing specifications.
Can Your Kitchen Flooring Actually Void Your Guarantee?
Beyond the floor, the ‘Oops factor’ that kills most warranties is the reuse of old fittings. It is tempting to save twenty dollars by using your old supply line or brass connector, but why your professional installer insists on a new water valve isn’t just about a service upsell. Old valves are prone to internal seal failure when they are disturbed and re-tightened. If that old valve leaks and ruins your cabinetry, your why your home insurance might not cover a diy installation leak clause might kick in, leaving you with a massive bill. Always distinguish between the difference between oem and generic water inlet valves to ensure you are meeting the exact specs required by the brand. 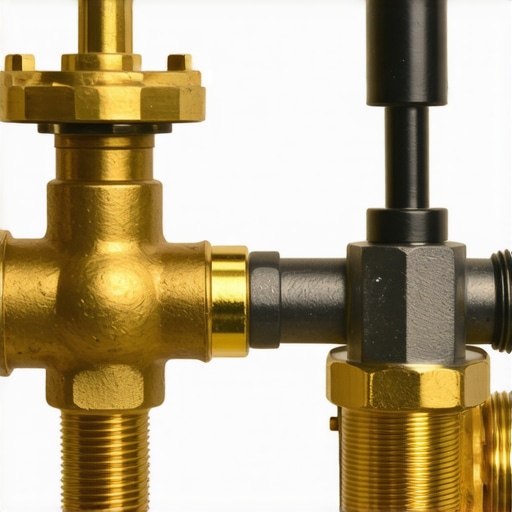
Don’t Let an Old Valve Ruin Your New Investment
Another hidden nuance involves the water chemistry itself. Many people don’t realize that if you have exceptionally hard or soft water, it can accelerate the wear on internal gaskets. Using expert advice on dishwasher installation troubleshooting means checking your water hardness before the first run. If you fail to calibrate the machine’s internal softener (if it has one), the manufacturer might claim you ‘neglected’ the machine’s maintenance requirements. This falls under what your dishwasher warranty doesnt cover and how to avoid fees. Have you ever fallen into this trap of thinking a ‘minor’ detail wouldn’t matter for a warranty claim? Let me know in the comments!
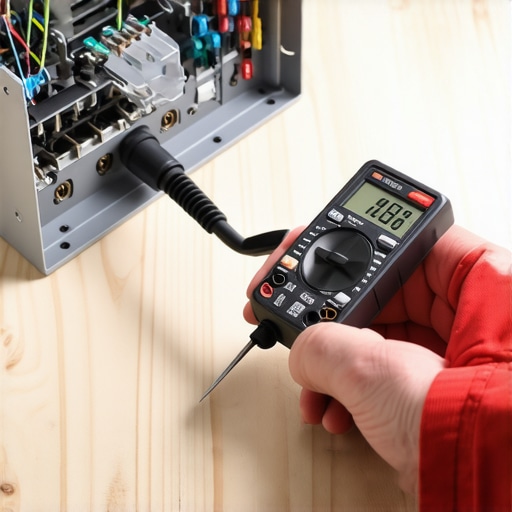
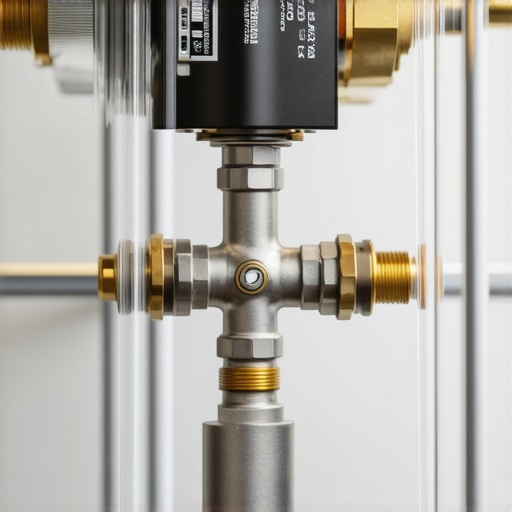
While knowing your warranty is great, having the right physical tools prevents you from ever needing to call the manufacturer in the first place. I’ve learned the hard way that an adjustable ‘Crescent’ wrench is the enemy of a leak-free seal. It slips, rounds off the brass, and leaves you with a slow drip. Instead, I always reach for a flare nut wrench. It grips all sides of the fitting, which is crucial because the proper tool to use when tightening your water supply line ensures you don’t over-torque and crack the plastic inlet valve. If you’re serious about DIY, you also need to learn how to test your thermal fuse with a basic multimeter. This $20 tool has saved me hundreds in ‘diagnostic fees’ from repairmen who just want to swap out the whole control board.
Ditch the Generic Wrench for Specialized Precision
When you are scaling up your DIY skills, the difference between a ‘handyman’ and a ‘pro’ is knowing which parts of the machine are consumables. Many people wait for a catastrophic failure, but essential parts every dishwasher owner should know about include the check valve and the drain impeller. These are the workhorses that move water against gravity. I personally keep a spare drain pump in my utility closet because I know that in a hard water environment, it’s not a matter of if, but when. This proactive approach is the core of understanding dishwasher parts a key to effective maintenance. It turns a potential weekend emergency into a thirty-minute swap.
How do I keep my dishwasher running like day one for the next decade?
The secret isn’t a fancy detergent; it’s the physical integrity of the seals and the clarity of the sensors. I make it a habit to wipe down the door seal weekly. It sounds like overkill, but the one maintenance task that doubles the life of your gasket is simply removing the grit that acts like sandpaper every time you close the door. Furthermore, if you notice your cycles getting longer, it’s likely because why your smart sensors are giving you dirty readings—they’re coated in a film of grease and can’t ‘see’ when the water is clean. According to the IAPMO (International Association of Plumbing and Mechanical Officials) technical manual, maintaining a consistent water pressure between 20 and 120 PSI is critical for the long-term health of these internal valves. High pressure might feel like better cleaning, but it actually stresses internal gaskets over time.
Don’t Wait for the Flood to Upgrade Your Tech
The future of these machines is moving toward predictive failure. We are already seeing the 20 smart sensor that detects leaks before your kitchen floods, but soon, your machine will tell you when to replace dishwasher parts for optimal performance based on actual usage data, not just a calendar. To stay ahead, take five minutes today to learn how to find your units hidden model number for replacement-parts and save a photo of it in your phone. It’s the easiest step you can take to ensure you’re never scrambling when a part finally gives out. This prep work is what leads to a truly seamless dishwasher installation experience year after year. I challenge you to go grab a multimeter this weekend and test the continuity of just one component—it’s the best way to demystify the electronics under your counter.
The Hard Truth About My Most Expensive Kitchen Failures
Reflecting on years of cabinetry work and appliance repairs, the biggest lightbulb moment I ever had was realizing that a dishwasher isn’t just a machine—it is a pressurized water system vibrating inside a wooden box. One major takeaway is that how to get your warranty claim approved on the first try starts with documenting your install steps rather than just winging it. I also learned that small compromises, like using a generic valve, are never worth the stress. Consulting a guide to dishwasher parts warranty what you need to know early on saved me from several denied claims by teaching me exactly which modifications are allowed and which are forbidden by the manufacturer.
My Go-To Toolkit for a Bulletproof Setup
If you want to move from hope it works to know it works, you need to invest in a few specific items that the manuals often skip. I personally trust a digital multimeter for how to diagnose dishwasher parts during warranty periods because it removes the guesswork from electrical issues. #IMAGE_PLACEHOLDER_E# For safety, I never install a unit without the 20 smart sensor that detects leaks before your kitchen floods—it is the single best value-for-money upgrade you can buy. Finally, keep a bookmark of the complete list of dishwasher parts covered by warranty on your phone; it’s the ultimate reference when a strange sound starts under the tub and you need to decide whether to call a pro or DIY.
Own Your Kitchen Like a Pro
Repairing a stripped screw or diagnosing a faulty sensor is more than just a chore; it is an act of stewardship for your home. You now have the blueprint for a high-quality, seamless dishwasher installation that respects both the mechanical and legal requirements of the machine. Don’t be afraid of the complexity—embrace the precision. Have you ever discovered a hidden leak only after it caused major cabinet damage? Let me know your story below!
Related Posts
How to Replace a Frayed Door Cable Without a Specialist
I was standing there, coffee in hand, when it happened.…
The $15 Pressure Switch That Fixes Overfilling Fast
Imagine standing in your kitchen, emptying the dishwasher, only to…

How to test your water inlet valve for failure
I remember the exact moment it hit me—my dishwasher suddenly…