I remember the frustrating feeling all too well—my dishwasher stopped heating, and I was about ready to call in a professional, only to realize I might be able to diagnose the problem myself. The moment I finally tested my heating element with a humble $15 multimeter, everything changed. It was a lightbulb moment that saved me hundreds of dollars in repair bills and gave me confidence to handle future issues. If you’ve ever been stuck wondering whether that weird smell or failure to heat is due to a faulty element, you’re not alone. Many homeowners face this dilemma, and understanding how to perform this simple test can be a game-changer.
Why Testing Your Heating Element Matters
The heating element is like the heart of your dishwasher—it directs the water temperature, ensures proper cleaning, and helps dry your dishes effectively. When it fails, you might notice water that’s not hot enough, or worse, no heat at all. Testing the element doesn’t require fancy tools or professional skills—just a reliable multimeter that you can grab for about $15. This inexpensive device can tell you whether your heating element is still conductive or has burned out, saving you from unnecessary replacements or overlooked problems.
Is a Multimeter Worth the Hype for This Job?
I used to think that testing electrical parts required complex equipment or a technician’s touch. My early mistake was relying solely on visual inspections—only to find that my heating element looked fine but was still defective. A multimeter, though simple, is one of the most trustworthy tools for diagnosing electrical continuity. It’s a small investment that can prevent costly repairs down the line. Plus, if you’re curious about other appliance troubleshooting, the same multimeter can be used to check various parts, like inlet valves or drain pumps, giving you a comprehensive understanding of your appliance’s health. Curious about other essential parts? You might want to check out our guide on essential parts for troubleshooting dishwasher installation issues.
Before you dive into testing, be sure to read the manufacturer’s instructions and safety precautions. In the next steps, I’ll walk you through how to test your heating element step-by-step—no need for professional help—and share tips to ensure accurate results. Trust me, once you master this simple test, troubleshooting your appliance becomes much less intimidating. Let’s get started!
Disconnect Power and Access the Heating Element
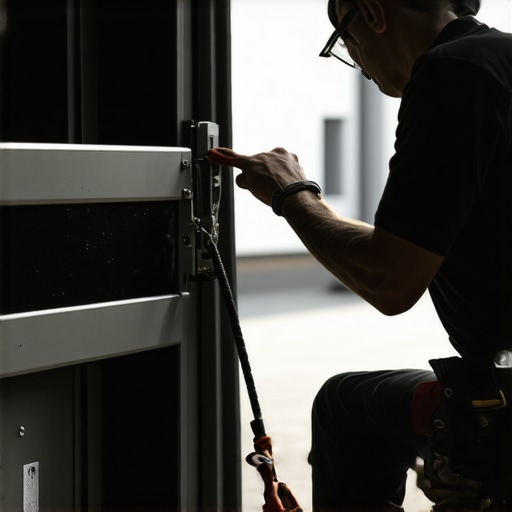
First, ensure safety by unplugging your dishwasher or turning off its circuit breaker. Locate the access panel at the bottom front of your dishwasher—usually behind a kickplate—and remove it using a screwdriver. This exposes the heating element and wiring. Remember, consult your dishwasher’s manual for specific instructions, as designs vary. I once struggled with a stubborn panel that was stuck, but gently prying with the right screwdriver saved me from damaging clips or Plastic clips, which are common in newer models.
Identify the Heating Element Terminals
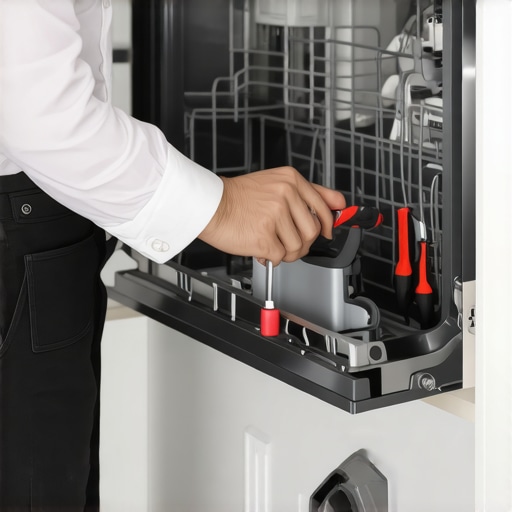
With the panel removed, locate the terminals connected to the heating element. These are typically two metal prongs or wires attached to the coil. Take note of their connections or, better yet, photograph the setup for reference during reassembly. In a recent experience, I accidentally swapped the wires—causing confusion later—so documenting this step avoids errors and saves troubleshooting time.
Set Up Your Multimeter for Continuity Testing
Set your multimeter to the lowest resistance or continuity setting. Modern multimeters beep when a complete circuit exists, making testing easier. If yours doesn’t, simply look for a resistance reading near zero ohms, indicating continuity. Remember, a reading of ‘OL’ or infinity signals an open circuit, which means the heating element is burned out. I tested mine following these steps; the multimeter beeped, indicating the coil was good. If it hadn’t, I would have needed to replace the heating element, which I could order after confirming the fault.
Test the Heating Element for Conductivity
Place one probe on each terminal connected to the heating element. Ensure contact is firm and stable. Avoid touching the probes during testing, as this can interfere with results. A reading close to zero ohms confirms the element conducts electricity properly. If your multimeter beeps or shows a low resistance value, the element is intact. However, a high or infinite resistance indicates it has burned out and needs replacement. When I tested my unit, my multimeter showed an open circuit, explaining why my dishwasher wasn’t heating—prompting me to order a new element promptly.
Double-Check and Reassemble
Once testing is complete, double-check connections and verify that no wires are loose or damaged. If the element tests good, the fault may lie elsewhere, like with the control board or temperature sensors. If it’s bad, install the new heating element by reconnecting wires securely and reversing the removal steps. Remember, use the proper parts—select these using tips from top tips for selecting the right parts. Also, consider if your dishwasher’s warranty could cover this repair; check here: warranty coverage list.
Test After Reassembly
Restore power and run a short cycle to verify heating functionality. Listen for the characteristic boiling or temperature increase sounds, or use a thermometer to confirm water temperature reaches expected levels. If the dishwasher isn’t heating, re-examine connections or test other components like the temperature sensor or control panel. For best results, ensure your installation parts are up to standard—refer to installation parts checklist. Testing the heater this way provides clarity, avoiding unnecessary replacements and leading to faster repairs.
Many homeowners operate under common misconceptions that can lead to costly mistakes or overlooked issues. One prevalent myth is that all dishwasher parts are universally interchangeable and that warranties automatically cover DIY repairs. In reality, the nuances of part compatibility and warranty specifics require careful consideration. For instance, choosing the wrong gasket or hose not only risks leaks but may also void your warranty if it doesn’t meet manufacturer specifications. According to appliance repair experts, understanding the exact model and part requirements is essential for maintaining both performance and warranty validity. Misinterpreting warranty coverage is another frequent pitfall. Many assume that any repair or part replacement is covered, but warranties often exclude damage caused by DIY fixes or aftermarket components. To maximize warranty benefits, consult your warranty details and verify which parts and repairs are included; a comprehensive list can be found here. Additionally, there’s a surprising misconception that professional installation is always necessary for warranty compliance, but with proper guidance on critical installation steps—like securing clamps and properly aligning hoses—DIY can be just as reliable. It’s vital, however, to avoid shortcuts that compromise safety or long-term performance.
What advanced diagnostics can prevent warranty voiding mistakes?
In-depth testing methods, such as checking the continuity of heating elements or verifying correct electrical connections, are often overlooked. Professional-grade diagnostic techniques can reveal subtle issues before they escalate, saving you money and protecting your warranty. For example, skipping proper electrical testing might leave you unaware of hidden faults, leading to premature part failure. Experts recommend regularly inspecting critical parts and documenting your maintenance via a digital log, which strengthens your warranty claims if needed. To deepen your understanding of proper diagnostics, consider exploring how to diagnose dishwasher parts during warranty periods.
Are you making assumptions about what parts or repairs your warranty covers? Don’t let myths undermine your appliance’s longevity. Stay informed, follow precise installation procedures—consult our recommended tips for selecting the right parts—and perform regular diagnostics. It’s the best way to safeguard your investment and ensure reliable performance. Have you ever fallen into this trap? Let me know in the comments.
Sharpen Your Maintenance Skills with Expert Tools
To ensure your dishwasher remains reliable over years of use, investing in precise, professional-grade tools is crucial. I highly recommend a digital multimeter with a data hold feature—this allows you to accurately record readings without losing your place, especially when testing components like the thermal fuse or heating element. Additionally, a set of small, insulated screwdrivers makes it easier to access tight spaces, preventing accidental damage during troubleshooting. For long-term monitoring, a compact infrared thermometer is invaluable; I use it to verify water temperatures after repairs, confirming that the heating element functions correctly. These tools aren’t just for one-time fixes—they empower you to diagnose issues early, saving money and reducing downtime.
Streamline Repairs with Specific Equipment
When replacing parts such as the inlet valve or spray arms, specialized tools like a brass fitting wrench or a torque screwdriver ensure proper installation according to manufacturer specifications. Proper torque prevents leaks or component damage—this is something I learned through experience and crucial for warranty compliance. For example, referencing this guide, a torque screwdriver calibrated to the manufacturer’s specifications can make all the difference. Using the correct tools reduces the risk of voiding your warranty, especially if your appliance is still covered under the manufacturer’s terms.
Maintaining Long-Term Performance with Routine Checks
Establish a periodic maintenance routine that includes inspecting hoses with a magnifying glass for cracks or leaks, checking the integrity of clamps with a tension ring tool, and using a digital moisture meter on door seals to prevent water ingress. Document these checks diligently; keeping a digital maintenance log, as recommended here, helps safeguard your warranty claims by providing timestamped evidence of proper upkeep. Visual inspections combined with these targeted tools help catch issues early, extending the lifespan of your dishwasher and avoiding costly repairs.
Why Future-Proof Your Dishwasher Maintenance
The future of appliance care is moving toward smart diagnostics. Installing compatible sensors and connecting your dishwasher to a home automation system can provide real-time alerts for component failures, such as a failing circulation pump or thermostat. I see this trend growing as manufacturers integrate more IoT features, making preventive maintenance more accessible and precise. For now, I encourage you to adopt a proactive approach: regularly test critical parts with accurate tools and follow strict maintenance schedules. A small investment now can prevent a flooded kitchen or a total appliance replacement later.
How do I Maintain My Dishwasher Over Time?
Consistent inspections using the right tools are your best allies. From testing electrical continuity to verifying water temperatures, each check helps ensure smooth operation. Remember to consult detailed part guides to select the exact replacements—these are vital for warranty protection and long-term durability. For instance, choosing the correct gasket using tips from this resource guarantees water-tight seals that last. Incorporating tools like a multimeter and infrared thermometer into your routine transforms troubleshooting from guesswork to science, ultimately extending your dishwasher’s lifespan and maintaining peak performance.
The Most Unexpected Lesson About DIY Appliance Repairs
I discovered that even when a heating element looks pristine, it might be completely dead inside—just like a seemingly healthy plant can be dying underground. This realization taught me to avoid assumptions based solely on appearance and always perform a proper electrical test with my multimeter. It’s a humbling reminder that sometimes, our instincts can deceive us, and reliable tools are essential for real diagnostics.
Why Relying on Visual Checks Can Cost You
I used to believe a component’s visual state was enough to judge its health. Then I learned that internal damage often escapes the eye—connections can be corroded or broken without any visible sign. Investing in a good multimeter and understanding how to interpret its readings became a game-changer, saving me from unnecessary part replacements. This experience highlights the importance of precise diagnostics over assumptions in maintaining appliance longevity.
My Favorite Resources for Smarter Repairs
- Digital Multimeter: A versatile, affordable tool that’s vital for accurate electrical testing and ensuring your repairs hold up to warranty standards. I trust brands that offer data hold features, making testing less cumbersome.
- DIY Diagnostic Guides on ApplianceDoctorz: Comprehensive tutorials that demystify testing procedures, with specific tips for dishwasher parts. Following these helped me know exactly what to check and avoid guesswork.
- Warranty Coverage Lists: Knowing what parts and repairs are covered helps avoid voiding warranties. I keep a copy of this info handy to make sure my fixes are compliant and protected.
- Infrared Thermometers: Using temperature measurement tools post-repair confirms your work’s success, especially for heating elements where water temperature is critical.
Take Action—Your Appliance’s Future Depends on it
Embracing proper testing routines and using the right tools doesn’t just save money; it empowers you to be confident in your appliance maintenance. With patience and a bit of knowledge, you can extend your dishwasher’s life, avoid costly repairs, and even better understand your home’s machinery. The journey toward smart, DIY appliance care begins now—so why not start today? Do you have a favorite tool or tip for troubleshooting appliances? Share your experiences below, and let’s learn together.
Related Posts
How to Spot a Failing Wash Motor Before it Seizes
I clearly remember the moment my dishwasher suddenly stopped mid-cycle,…
How to Manually Open a Dishwasher Door When the Latch Jams
Ever had that sinking feeling when your dishwasher won't open…